You have no items in your cart. Want to get some nice things?
Go shopping
The S-curve, also called the arabesque, is one of the most popular techniques used in food photography composition. It is one of my go-to methods when I want to position multiple elements in the frame. Below I explain what it is, and give you tips on how to use it effectively in your food scenes.
Before I dive in, just remember that composition principles, including the S-curve, are NOT rigid rules or the letter of the law. They are tools, guidelines meant to help us build harmonious, interesting images. Use them as training wheels, and let them go when you wish.

In my previous post I wrote about lines and how to use them to style your food images. When we compose, we can use many different kinds of actual, or visible, lines:
-straight lines, which can be vertical, horizontal, or diagonal: think chopsticks, or the rim of a baking sheet or cooling rack
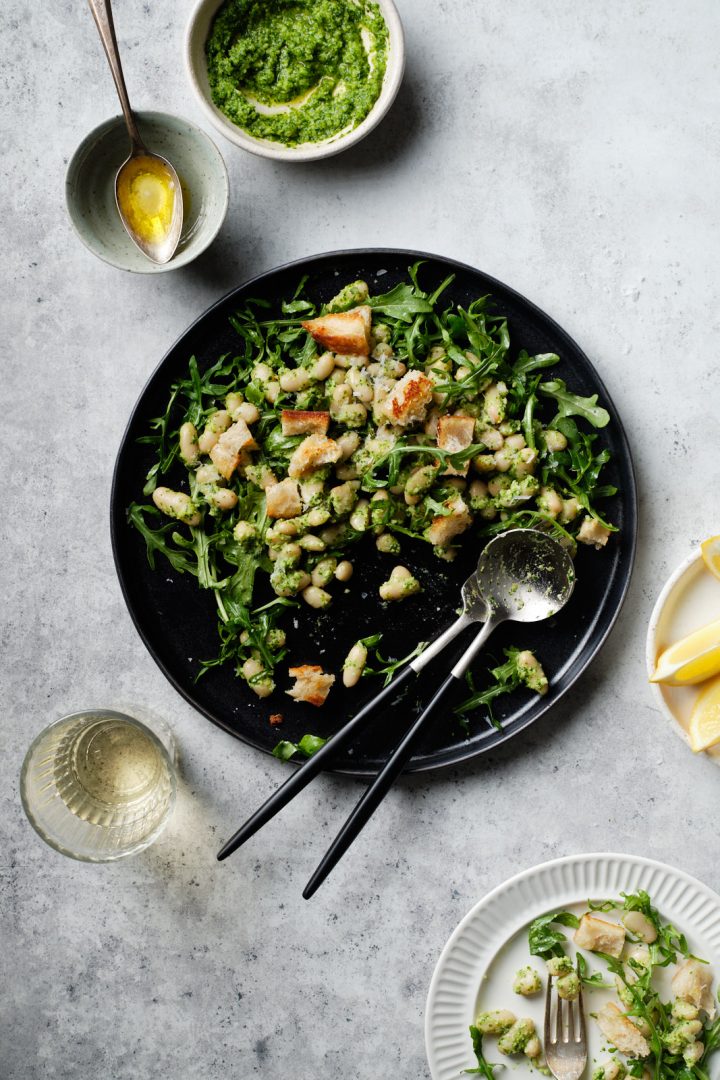
-curved lines: an arugula/rocket leaf, cooked noodles, a stem of mint, the rim of a plate, or bowl etc.
But we are not limited to the lines naturally present in our food subjects or props. We can also use objects in the frame to create optical lines. These are imaginary lines created by our MIND, connecting the elements in our image in a dot-to-dot line or shape. Our brain has a natural playful tendency towards connect-the-dots games, and every image can be a fun opportunity to play.
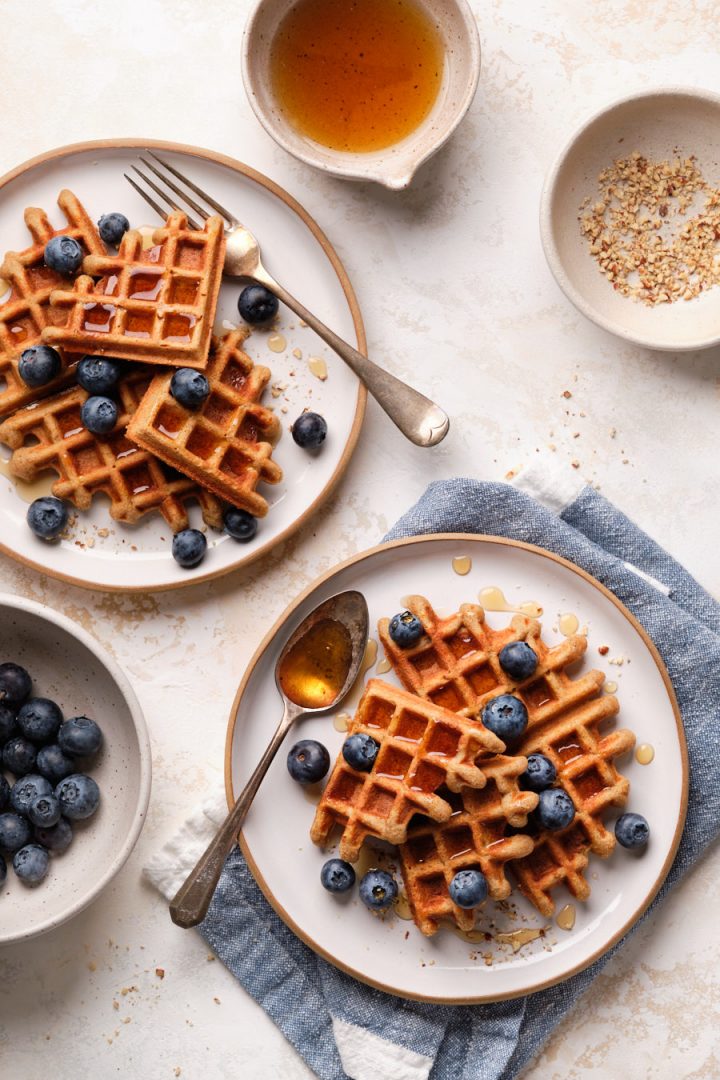
Take the example of the waffle image below. The plates and bowls are each a “dot” and when we connect them with a gently curved line top to bottom, we end up with an S line, hence the name of this technique.

Why use the S-curve technique
S-shaped optical lines create a sense of flow in the image, like a meandering river in a landscape. This guides the viewers’ eyes to take in all the elements in the frame. We always want to make this visual journey interesting, as well as creating the opportunity to tell the story of the hero dish with ingredients or props. This technique visually connects the objects present in our scene, and gives a sense of depth to images shot from the head-on or 45-degree angle.

Tips for how to best use the S-curve in your food photos
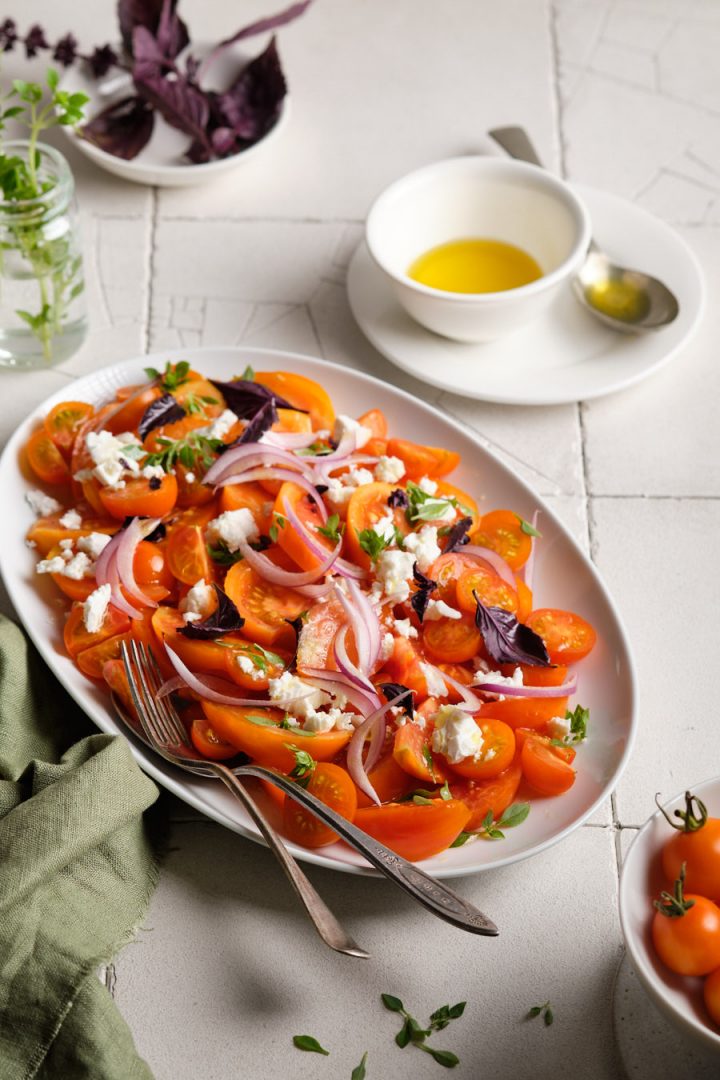
- the S-curve is great at visually connecting 4 or more elements (a.k.a. “dots”) in your frame
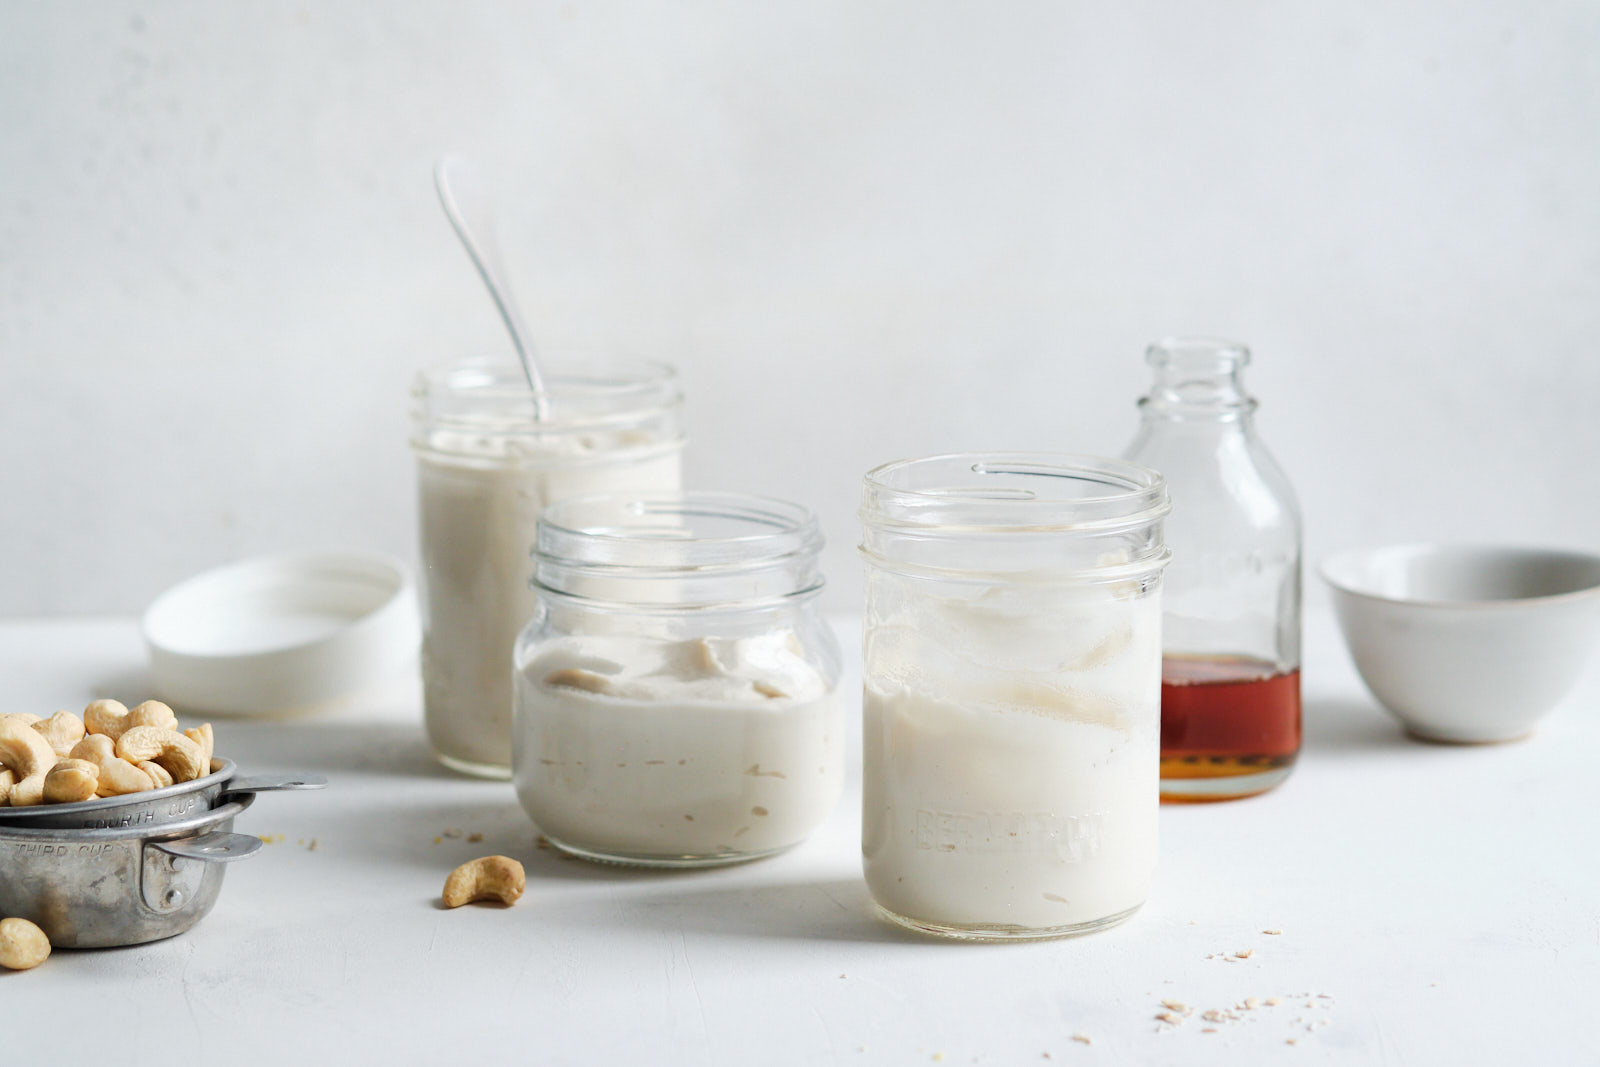
- if you are shooting in the 45-degree or head-on angle, place your hero in the lower half of the frame, and the supporting elements farther back into the frame, still using the S shape, like in the tart image below
- make sure that there is variety between the size, shape and colour of the “points” of the S-curve, otherwise the composition can feel a bit artificial, forced
- position elements at varying distances from one another to create a relaxed, organic feel
- Don’t make the S line too obvious, keep it natural-looking, and don’t be afraid to also position in the frame objects which are not part of the curve
- This technique works really well for vertical orientation, though you can use it for horizontal images too
- the arabesque works really well when the image has a good amount of negative space, just like a line is most visible on an empty page, or canvas. The viewer’s eye can rest in the unoccupied spaces of the image, which make the “dots” in the frame pop even more
I want to encourage you to try this technique, it can help you create beautiful, harmonious food scenes. And as always, if you have questions, please leave them in the comments.
If you would like to learn more about composition techniques for food photography, please check out the live online workshop I am holding on March 1st, 2022. I will be teaching attendees what other composition tools are available to us when we style a scene, and most importantly, how to know WHICH composition tool to use when. Click here if you want to learn more or sign up for the workshop.
Until next time!