You have no items in your cart. Want to get some nice things?
Go shoppingFlatlays are super popular on social media right now, and for good reason. Flatlay, also called overhead, is a great angle to use when you are shooting food with the wide angle lens of your smartphone. In fact, overhead and head on are the two most flattering angles for smartphone food photography.
So we all love a good flatlay, but do you know how to create a scroll-stopping one? Here are my top 5 tips for creating flatlays with a food subject. If you want to go deeper into understanding composition, my online composition workshop might be for you! For now, here are my top 5 tips for creating flatlays in food photography. ⠀⠀⠀⠀
Tip no. 1: use lines in your composition
S-curves lead the eye through the frame (check this post on how to achieve that), and straight ones to “point” to your subject. You can use both actual lines (for example, the straight line created by chopstick or a rhubarb stem) or implied lines. These latter ones aren’t actual lines, but they are created by the elements in your frame. If you want to understand and learn how to compose with lines, please see my post here.
Tip no. 2: position elements at varying distances
Placing our subjects at varying distances from one another to create a relaxed, organic feel. When we place bowls or plates of food at equal distances, this feels staged and unnatural for the eye. Re-position the food and props if you notice things looking too rigid.
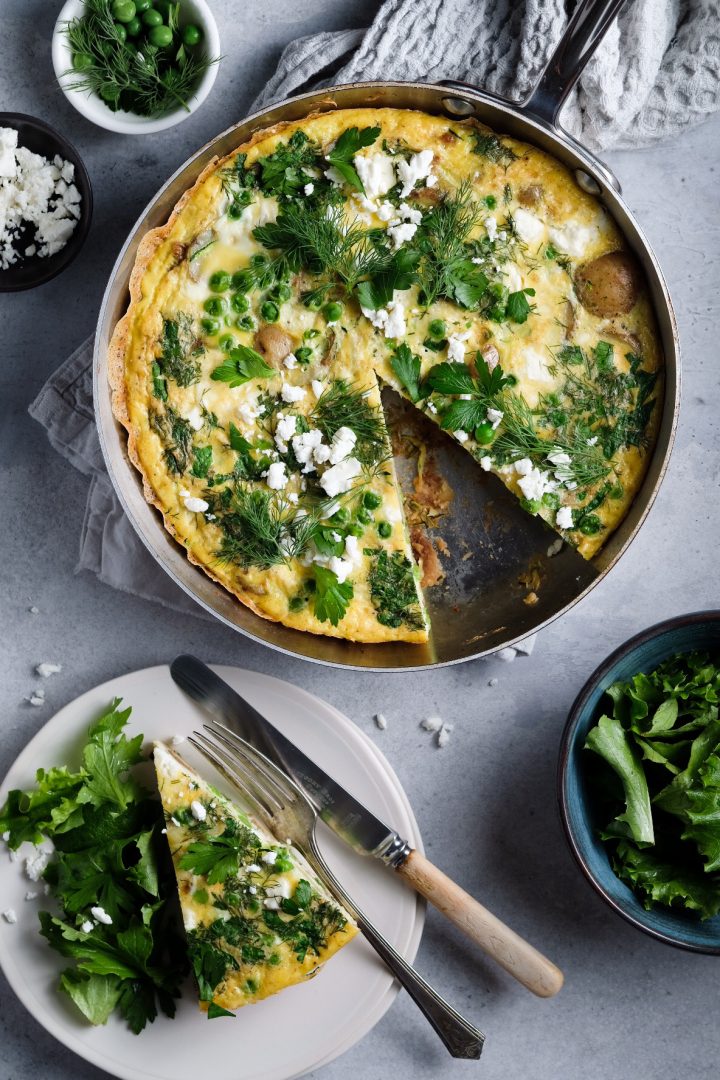
Tip no. 3: use good tonal contrast so your lighting isn’t flat
Tonal contrast means to have areas of different brightness in your image. An image with good tonal contrast will have bright well-lit areas but also shadows. Good tonal contrast adds dimension (meaning, a 3D quality) and gives the brain clues about the height of objects in the frame. Notice how in the image above the light coloured background and well lit pasta contrasts with the dark interior of the pan and the rich, deep shadows.
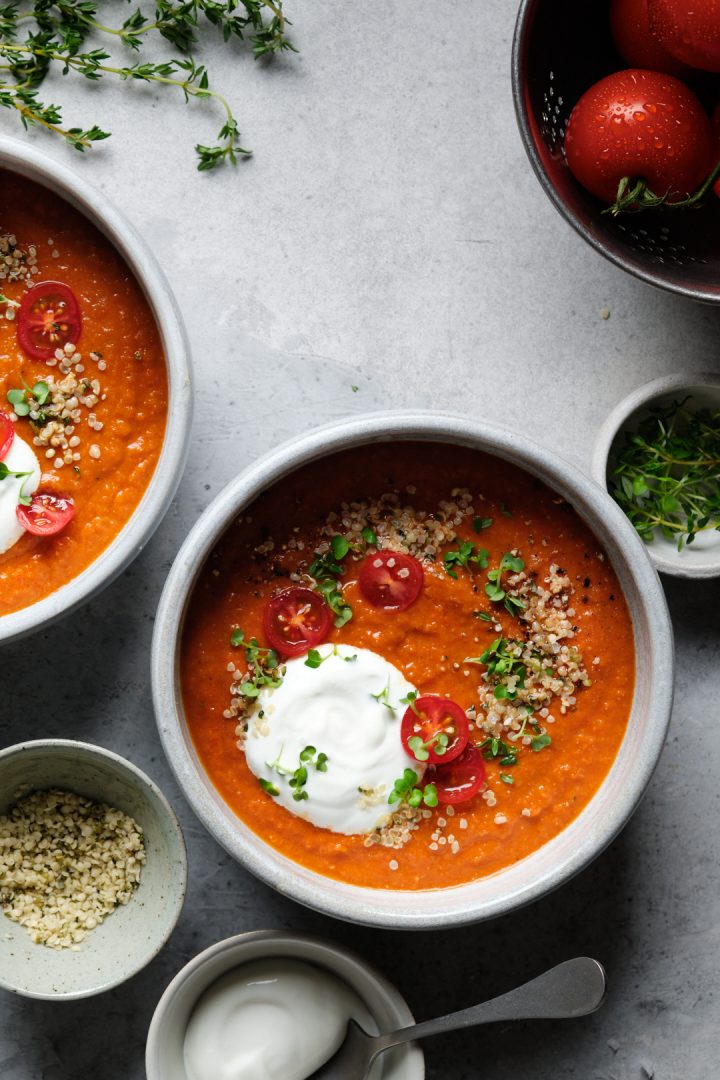
Tip no. 4: layer elements/garnishes in your main dish to create interest
When you do so, you are creating a sense of depth, as the viewers eyes can see the things “stacked” on top of each other. In the red pepper and eggplant soup image below, we have the yogurt, cherry tomatoes, hemp hearts, and some green sprouts as a garnish. These add interest to the otherwise flat surface of the soup.
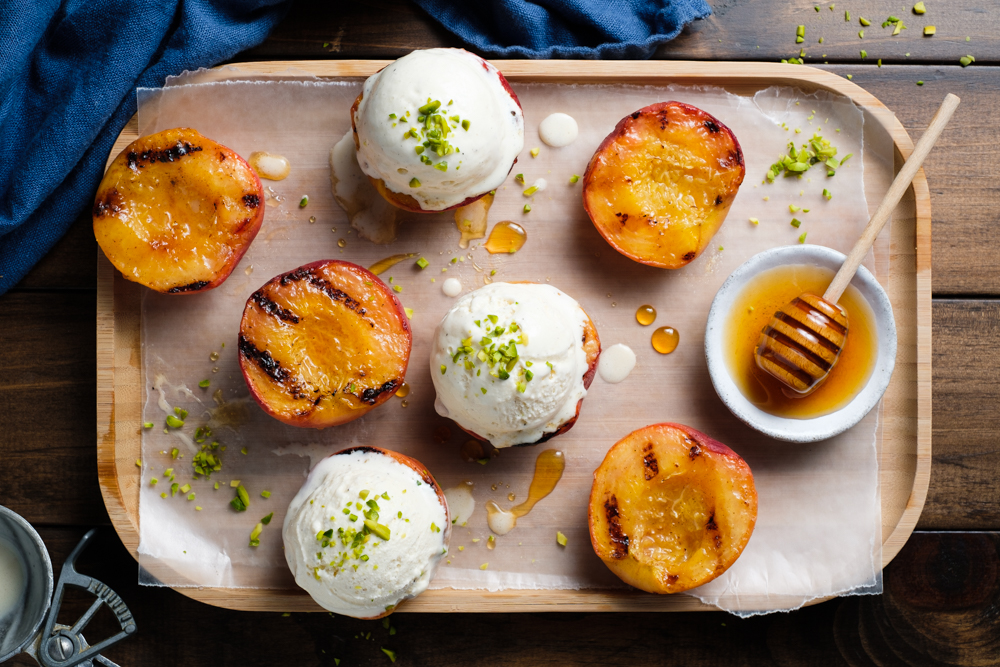
Tip no. 5: include elements of different heights
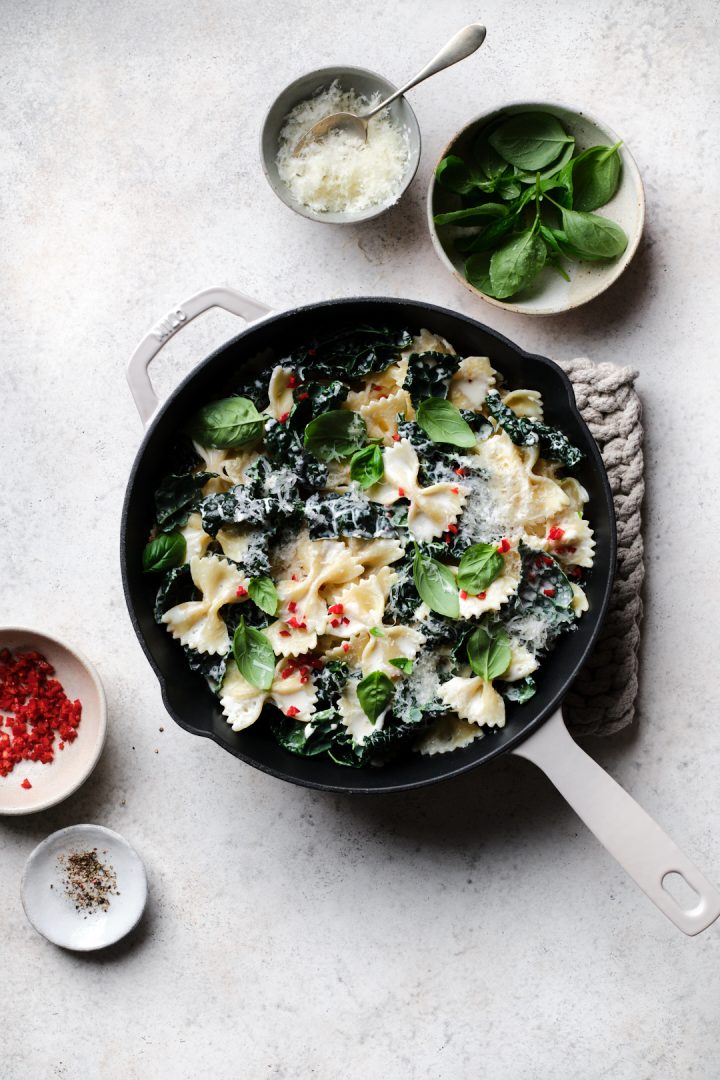
For example, you can use glasses, bowls and plates in a single image. These objects have different heights and will cast a different shadow, creating variety and interest in your image. If you have a shot with multiple plates, use a thick marble coaster underneath one or two of them. This will elevate them, change the size/shape of their shadows, and create depth. In the bowtie pasta with kale and basil image above, we have the pan placed on a trivet, smaller bowls, and finally a nearly-flat pinch bowl.
Bonus tip: leave negative space
Negative space is an “empty” space in your photo, an area where you haven’t placed any of your subjects. This compositional tool is my favourite, because it gives flatlays an open, easeful quality, rather than having a busy scene. As an additional pro, it leaves room for text, which makes them appealing to stock photography buyers.
What is your biggest struggle when it comes to flatlays? Tell me in the comments! And remember to check out my Online Composition Workshop if you want to learn how to compose scroll-stopping food scenes!